I learned how to do this over the weekend, so I'm going to share while it's still fresh in my mind.
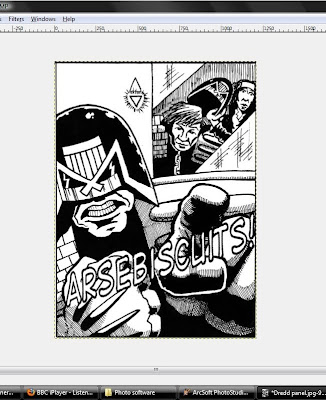
I wanted to overlay a word on a panel, and wanted white text with a black border. Importantly, the background image had to be seen behind the letters of the overlaid text.

Step 1.
Open the image onto which you want to put the text.

Step 2.
Create a new, blank image. (Tip:I haven't, but if you make this a grey background, it will help when you turn the text to white in Step 4.)

Step 3.
Using the 'Text' tool, create a text box, choose the font style (this is DigitalStrip Bold) and enter the word. For arbitrary and puerile reasons I'm going to put 'Arsebiscuits!' onto this image.

Step 4.
Change the colour of the font to white using the text colour function. If you've made the background to grey then the text won't 'disappear.'
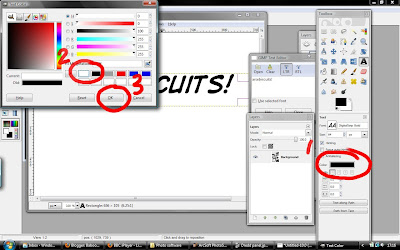

Step 5.
Click on 'Path From Text,'
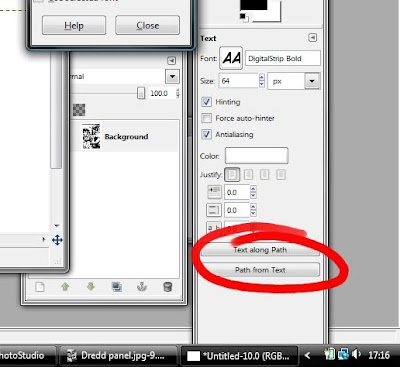
then select the 'Edit' drop-down menu. From here scroll down and select 'Stroke Path.'

Step 6.
This will open an options box. In this case I'm using plain, solid colour, and reducing the line thickness to 3.0 pixels. Once this is done, click 'Stroke.'
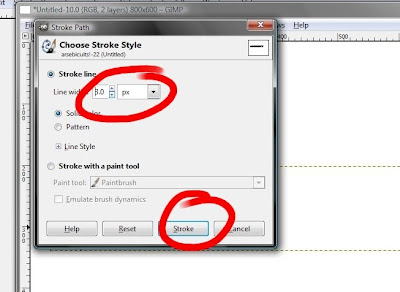
This can take a while, so don't panic if it appears that nothing is happening. Your text will eventually appear with the border around it.
Step 7.
Using the 'Rectangle Select' tool, outline the newly-bordered text. Right click 'Copy.'
(It's important not to merge this text layer down before selecting and copying; the above steps mean you'll create and copy the text with a transparent background.)

Step 8.
Return to the original image. Right click 'Paste.' The text, with transparent background appears on the picture.

Step 9.
At the moment it's too small and in the wrong place. There are good tools on GIMP to shift things around; Scale, Shear, Rotate and Move (highlighted in green) mean you can resize, reshape and move text like this around until you're happy.
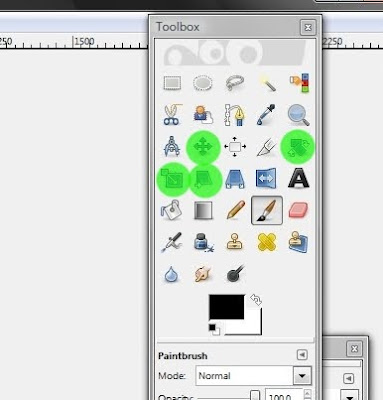
In this case, I'm scaling the text layer; use the box 'handles' to drag it and re-shape it; once you're happy click on the 'Scale.'

Step 10.
Once the text is the right shape and in the right place, it needs to be 'fixed' to the drawing beneath. In the 'Layers' drop-down menu, click 'Anchor Layer' and that's it, done.

(And I was listening to the transfer day madness unfolding, in case you were wondering.)


No comments:
Post a Comment